Location Manager
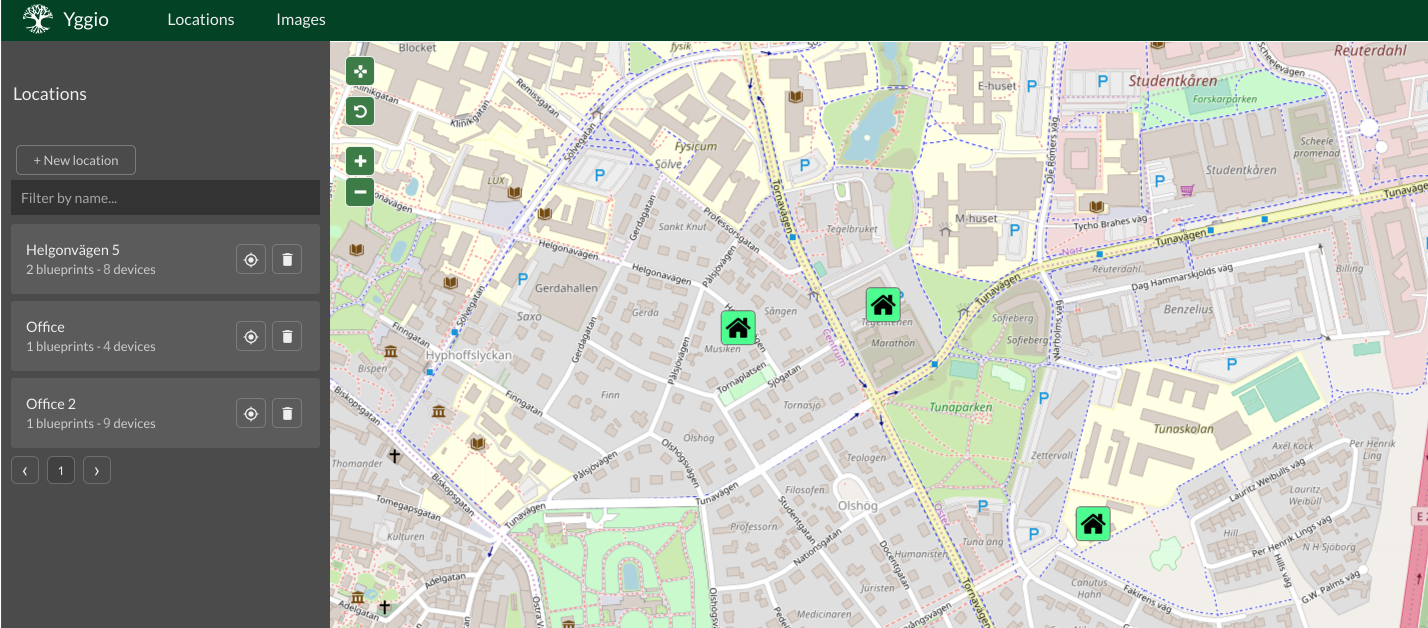
Navigate to Location Manager
-
Log in to your account
-
Click on ”Apps” on the left sidebar
-
Click on ”Location Manager” to go to the Location Manager
Create a Location
-
In the Location Manager, press on the “New location” button on the left side
-
Choose a name for your new Location
-
Choose a description for your new Location
-
Enter your coordinates or press on the map to select your Location
-
Once all fields are green, hit the submit button in the bottom left
Add a Blueprint
-
Go to a Location you created by either finding it on the map and clicking on it, or in the list on the left and click on the name or aim button and press the “go to location” button on the map
-
When you are “inside” your new Location, press the “New Blueprint” button on the left side
-
Choose a name for your new Blueprint
-
Select and/or upload a Blueprint of your new Location
-
Press the “Create Blueprint” button on the bottom left
Add a device (in Location Manager)
-
Go to a Location you created by either finding it on the map and pressing on it, or in the list on the left and press on the name or aim button and “go to location” button on the map
-
On a Blueprint, click on the “Arrow” button next to the “Pen” button
-
Click on “Add device”, and a dropdown menu will appear
-
Choose the device you want add to the Blueprint
-
Press the “+” button on the Blueprint list
-
On the “Crosshair” button on the map, a red label with your unplaced device should appear
-
Press the “Crosshair” button and then click on the Blueprint to place the device at the same position as the mouse click
-
Adjust the position of the device by dragging it to the desired spot
-
Press on the “Crosshair” button again to go back to the Blueprint