Rule Engine
Introduction
The Rule Engine is based on IFTTT, which stands for "If This Then That," is a powerful and user-friendly engine that enables you to automate tasks and integrate various digital services through a simple rule engine. The core functionality of IFTTT lies in its ability to create rule statements, which follow a basic "if-then" logic. Each rule connects two services: the "trigger" (the "if" part) and the "action" (the "then" part). For example, you can set a rule to automatically send an email, publish some data or to turn on or off an actuator when a certain condition is meet. The Rule Engine integrates with Yggio Flow, Yggio Translators, and the Yggio AI/ML modules to deliver powerful custom analytics, algorithms and event management capabilities.
Most rules are based on simple conditions, making the platform highly accessible even to users without technical expertise. These rules operate on a straightforward "true or false" logic, where an action is triggered if a certain condition is met. For instance, you might set up a rule where, if the weather forecast predicts rain (the condition), then a SMS notification is sent to remind you to carry an umbrella (the action). This simplicity allows users to create powerful automation sequences with minimal effort.
Rules are triggered by conditions. If the conditions are met, actions will be executed. You can create custom rules, conditions, and actions.
Important Note: You can't change predefined rules, conditions, or actions. They will revert to their original state.
Navigate to Rule Engine
- Log in to your account
- Click on ”Apps” on the navigation bar
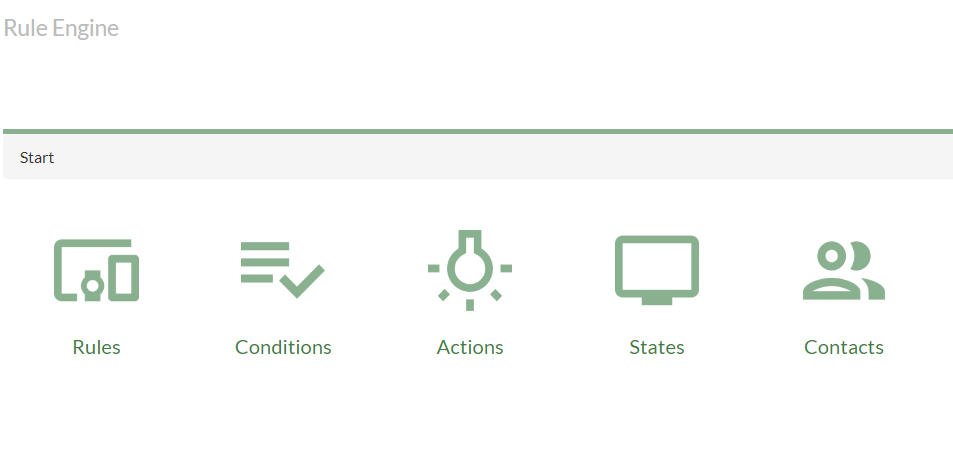
- Click on ”Rule Engine” to go to the rule engine
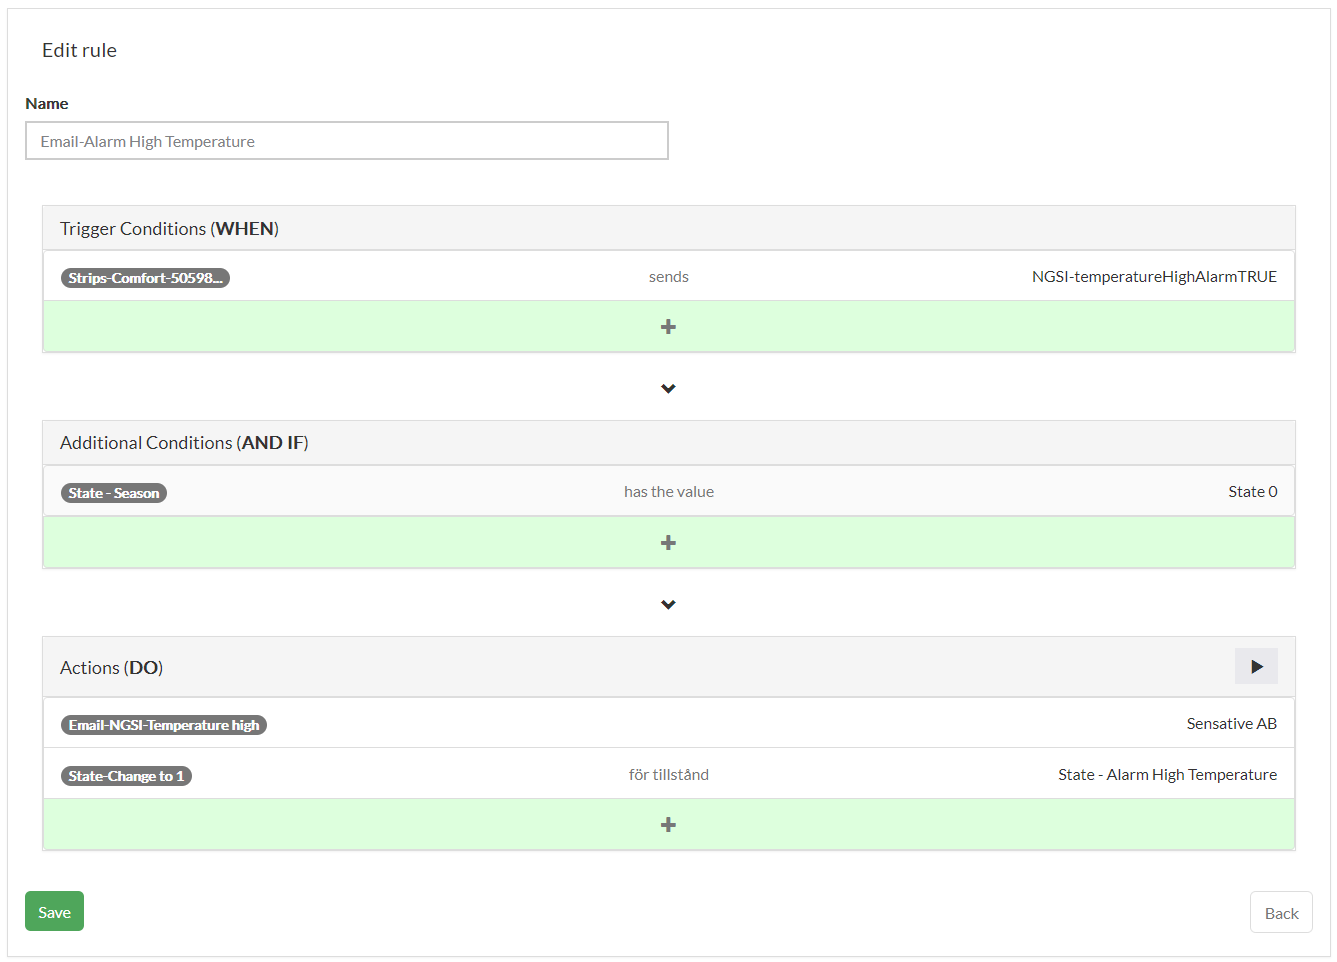
Create a Rule
- Click on the ”Rules” icon in the Rule Engine
- Select ”Add Rule” on the middle left side
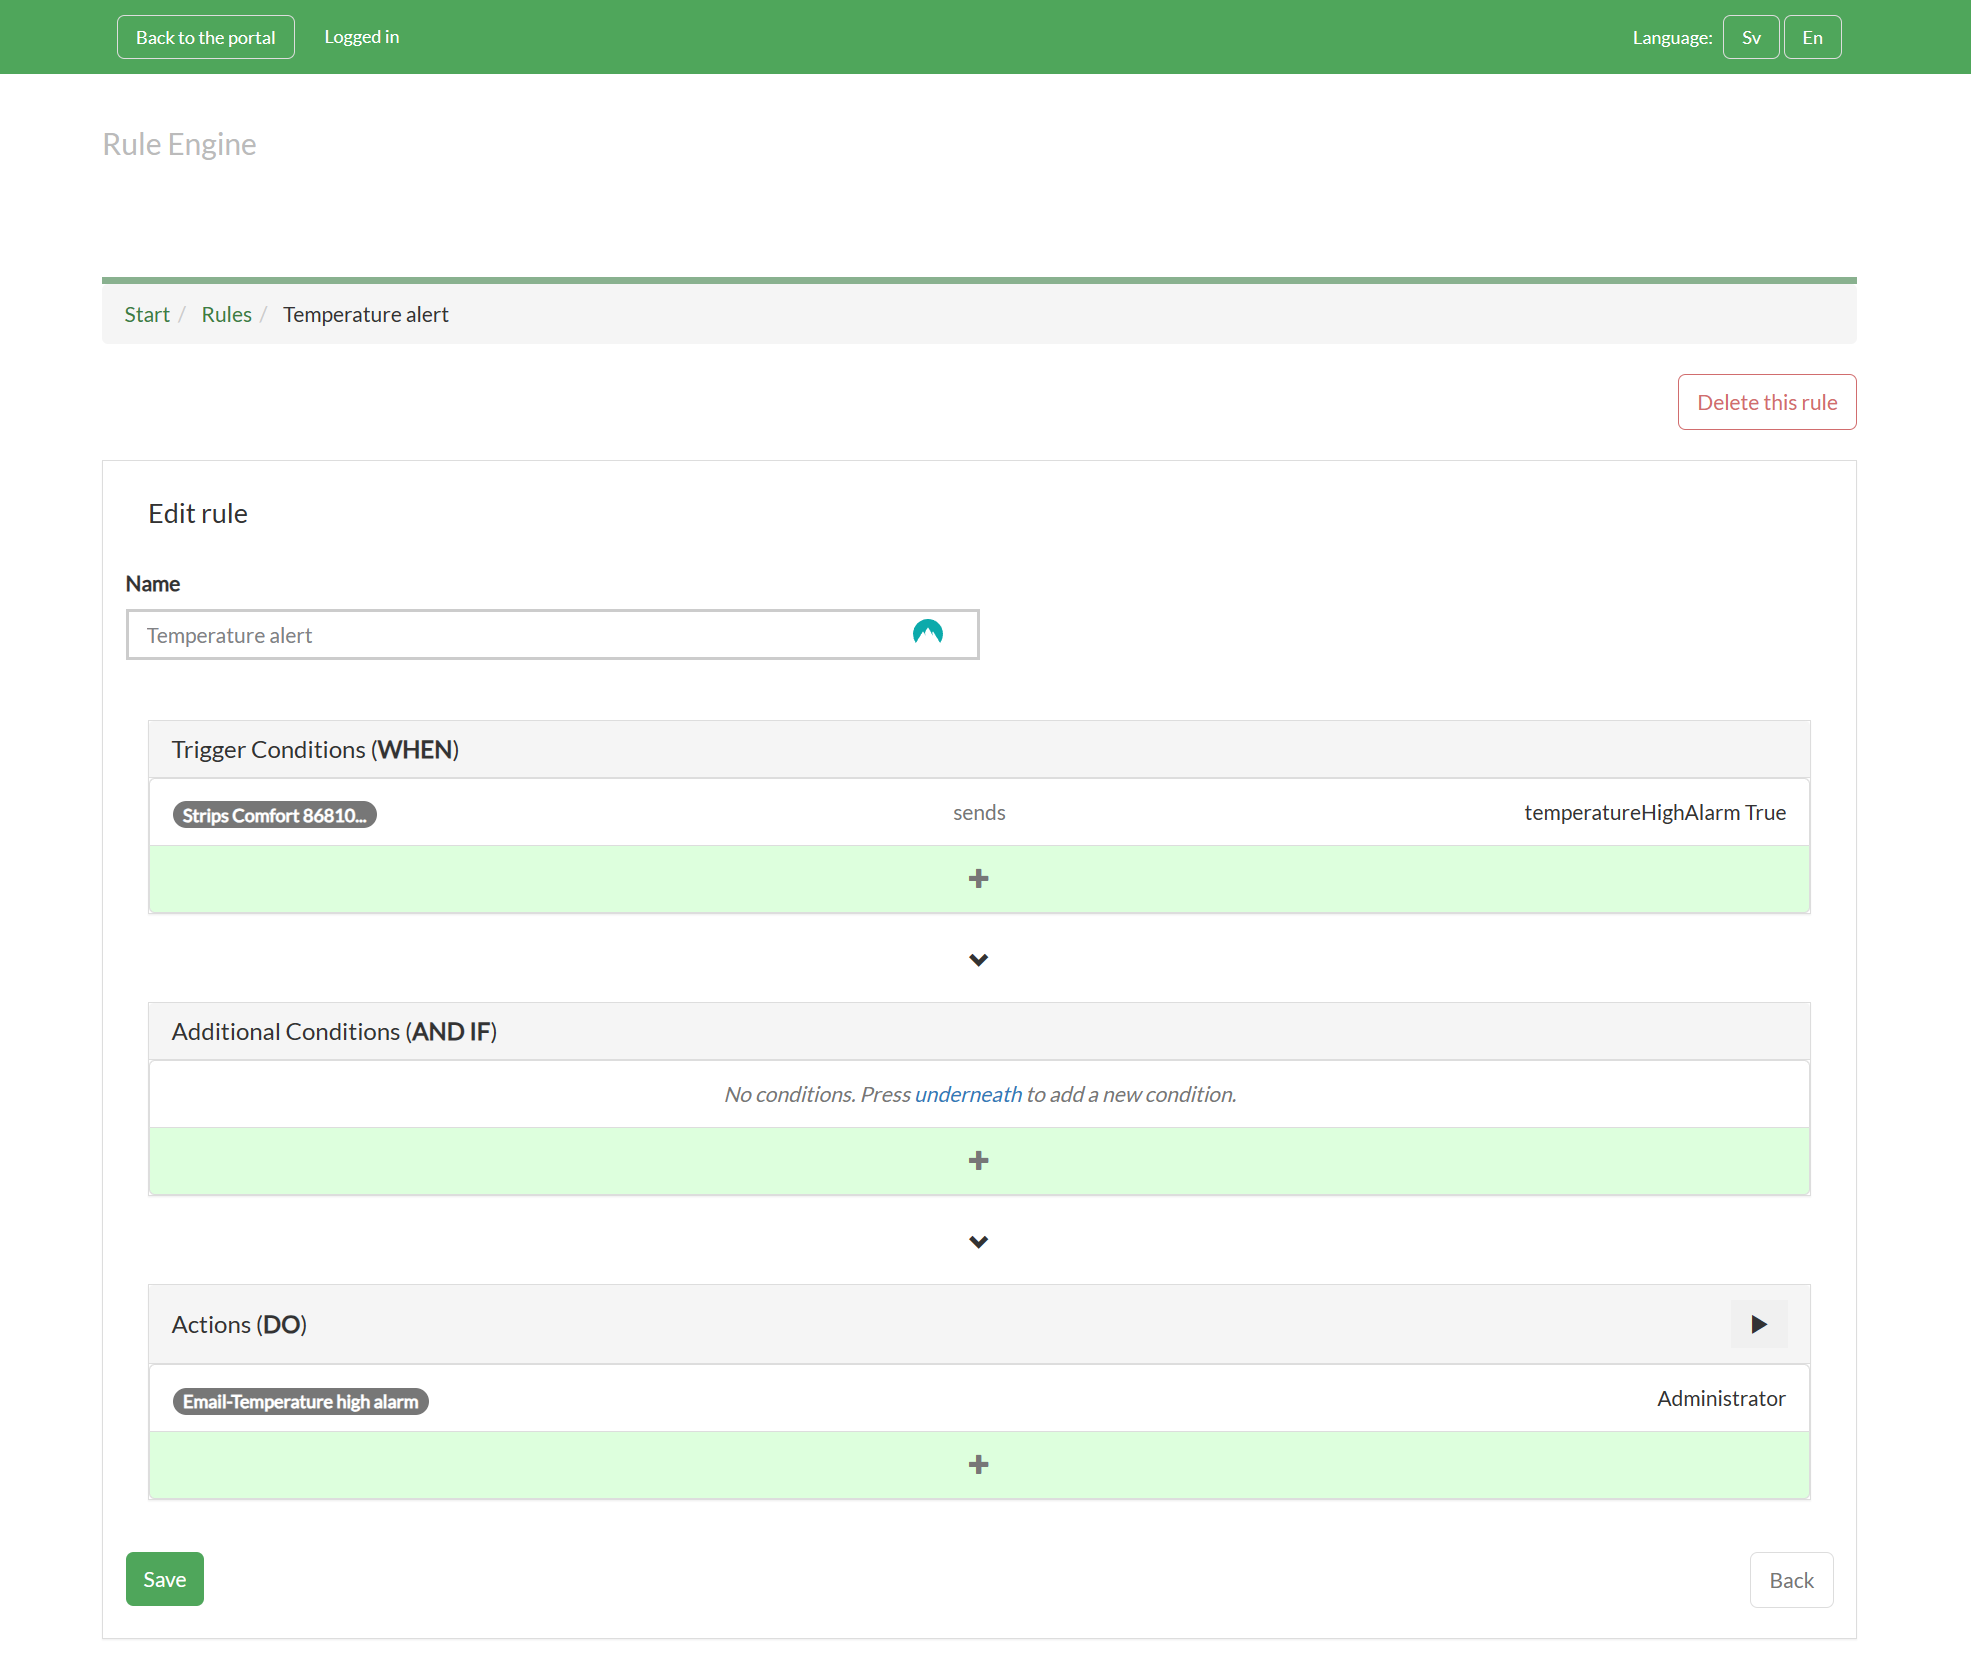
- Enter Rule name
- Choose a WHEN trigger. This function defines when something is being done. Press on the ”+” button in the middle and then select an IoT node, a timer or a cronjob and a condition.
- OPTIONAL: Choose an AND IF condition. This function will allow the rule to continue execute if the condition fulfilled. Press the ”+” button in the middle and then and then select an IoT node and a condition or a time interval.
- Choose a DO Action. This function will do something once the WHEN and IF conditions are met. Press the ”+” button in the middle and then select an action and a target to execute the action on.
- Press on ”Add Rule” in the bottom left side
Additional information
- All text fields are searchable, making it quick and easy to find a specific IoT node, condition, or action.
- Several IoT nodes can be grouped in one row to evaluate a WHEN trigger.
- Several IoT nodes can be grouped in one row to evaluate an IF condition.
- Several targets can be grouped in one row to execute a DO action.
- All WHEN triggers, even when grouped in one row, operate on an OR basis, meaning the rule will trigger if any one of them becomes true.
- All IF conditions, even when grouped in one row, operate on an AND basis, meaning all conditions must be true for the IF condition to be satisfied.
- WHEN triggers are state-based and will react only to changes, such as a transition from false to true or a change from 19 to 20.
- When selecting an item from a list, it will disappear from the list, enabling fast selection of even hundreds of IoT nodes in a rule by first searching and then selecting.
- A DO action is available to initiate another rule, allowing the rule engine to manage rule chains.
- All DO actions can be delayed by setting a timer, enabling the creation of timer-based rules. Once an action timer has been started it cannot be stopped and will trigger the associated action when it expires.
- To manage timers that can be stopped, see Data Flows, Timers, and Geofences and use the
timerExpiredfield as the trigger.
- To manage timers that can be stopped, see Data Flows, Timers, and Geofences and use the
Create a Condition
- Click on the ”Condition” icon in the Rule Engine
- Select ”Add Condition” on the middle left side
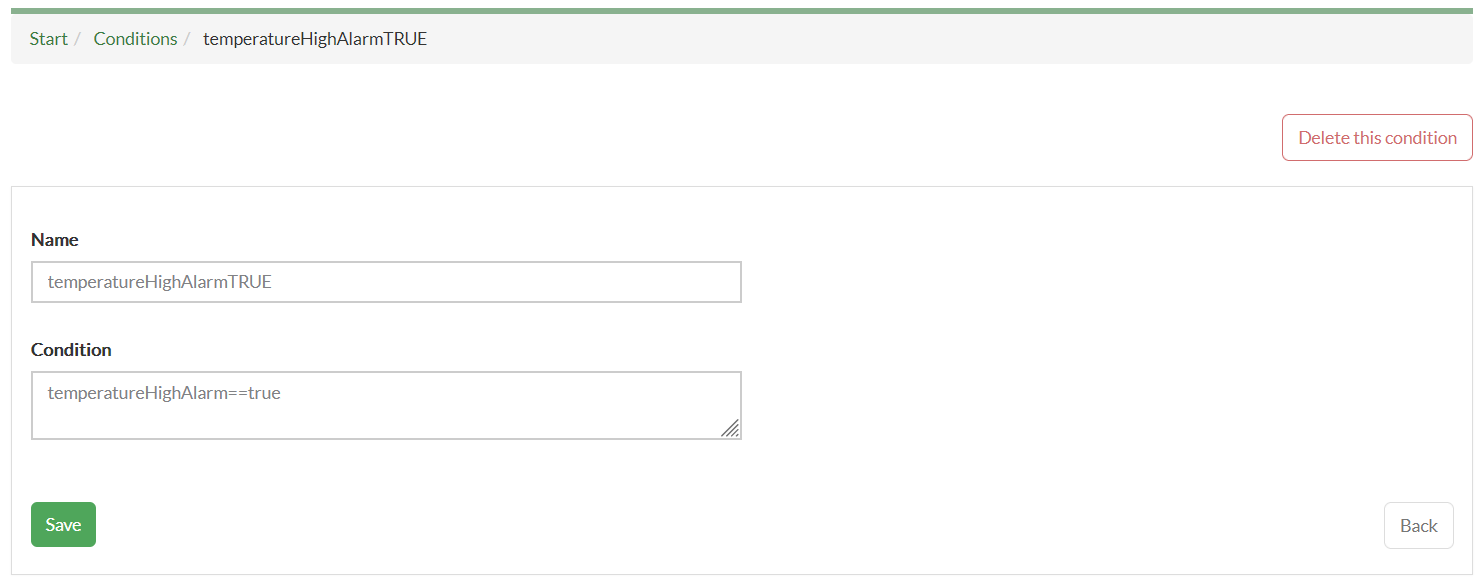
- Enter the field name (like 'temperatureHighAlarm') of your condition from the Data tab of an IoT node in the Device list
- Enter the evaluation operator (like '==')
- Enter your conditions value (like 'true'). This function will use the value entered as the WHEN trigger or IF condition
- Press the ”Add Condition” button on the left side
Examples:
temperatureHighAlarm == true
temperature > 30
temperature < 39.5 || presence == false
temperature > 39.5 && presence == true
message == 'Missing expected report'
Permitted data types: Integer, Decimal, Boolean, String
Common operators: Common operators are:
- == Equality operator (=== strict equality)
- != Inequality operator (!== strict inequality)
- > More than
- < Smaller than
- <= Less than or equal
- >= More than or equal
- || Conditional OR
- && Conditional AND
All permitted operators: Permitted operators can be found here
Additional information
- The most common conditions are predefined and available to use directly in rules.
- A string value should be encapsulated within single quotes, like 'Missing expected report'. In the data tab in the Device list strings are coloured red, numbers blue and boolean green.
- Recommendations rearding conditions:
- Preferably use simple true or false equality or inequality conditions.
- When > or < comparisons are necessary, it's preferable to integrate a translator with a threshold check directly into the IoT node. This localizes state management to the IoT node, reducing the need for additional logic in the rule engine.
- For more complex conditions, such as custom anomaly detection, leverage existing analytics algorithms (translators) or develop a custom analytics solution and upload it through the API.
- If the analysis requires even more sophistication beyond what custom algorithms offer, develop an AI/ML model with integrated data pipeline formatting to address the requirements and upload it to the Yggio AI module.
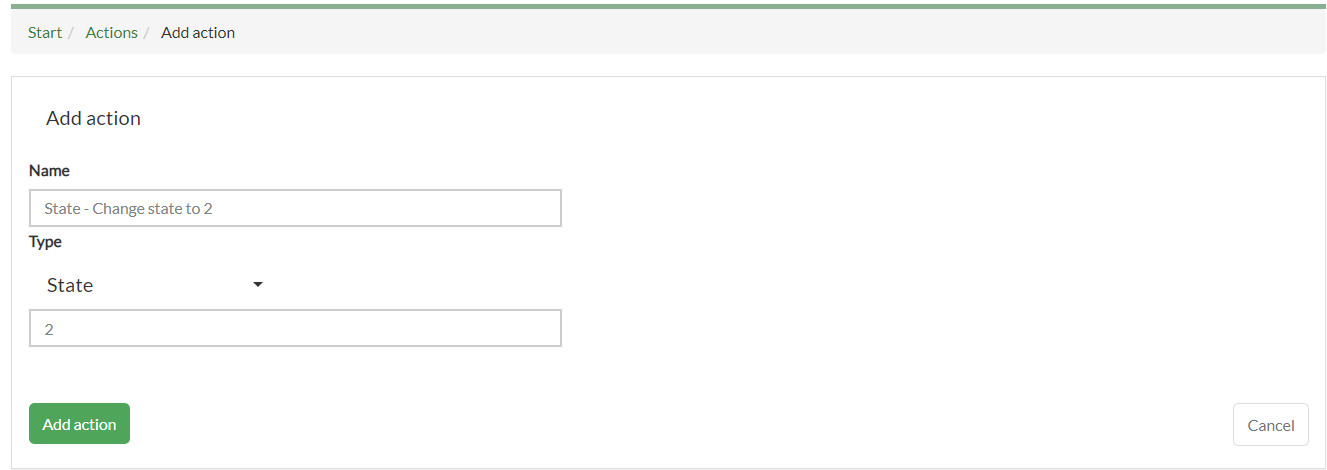
Create an Action
- Click on the ”Action” icon in the Rule Engine
- Select ”Add Action” on the middle left side
- Choose what type of Action you need and select it
- Enter your Actions name
- Enter correct values for your Action
- Press the ”Add Action” button on the left side
Commonly used actions
-
Email: Send an email with a custom and dynamic text to the recepient. The email body allows HTML code to create nicely formatted email with images.
-
SMS: Send an SMS with a custom and dynamic text to the recepient.
- Note 1: SMS subject line is max 11 characters otherwise no SMS will be sent.
- Note 2: Every SMS sends cost $0.25, currently they are not charged extra for but number of SMS sent must be within reasonable limits.
-
Log: Create a custom log entry that will appear in the log. This can be used to set alarms or track when rules are executed. By choosing the option "dynamic," the log information will be retrieved from
log : {}JSON structure in the triggering IoT node where it has been set by a translator.Example of a dynamic log written by a translator:
log : {
  'message': 'Modbus configuration not done or not valid.',
  'type': 'Warning',
  'priority': 'Low',
  'category': 'Status'
} -
Report: Create and send an HTML, CSV or Device Count (billing) report. For details see Report Generator
-
LoRaWAN downlink: Send a downlink to a LoRaWAN device. Usually to control an actuator.
-
Zwave downlink: Send a downlink to a Zwave device. Usually to control an actuator.
-
Command: Very versatile generic action to send a command, used for to example publish a message on Yggios MQTT broker or another broker. A Generic MQTT Connector is required which is added as a target in the DO part of a rule.
- Example of command (Note that in Rule UI the character " must use escape character so use /"):
Subject: sendDownlink
Body:
"message": "myMessage",
"mqttTopic": "subTopic"
Dynamic information
- Many actions, such as Email, SMS, Commands, Logs, etc., allow for the inclusion of dynamic information related to the triggering IoT node. This dynamic information can be incorporated by inserting a statement like
${iotnode.fieldname}within the action specification. Upon rule triggering, the${iotnode.fieldName/}placeholder will be substituted with the corresponding value of fieldname.
Examples:
The temperature detected was ${iotnode.temperature} degrees.
The device reported at ${iotnode.reportedAt}
'devEui': '${iotnode.devEui}'
Create a State
- Click on the States icon in the Rule Engine
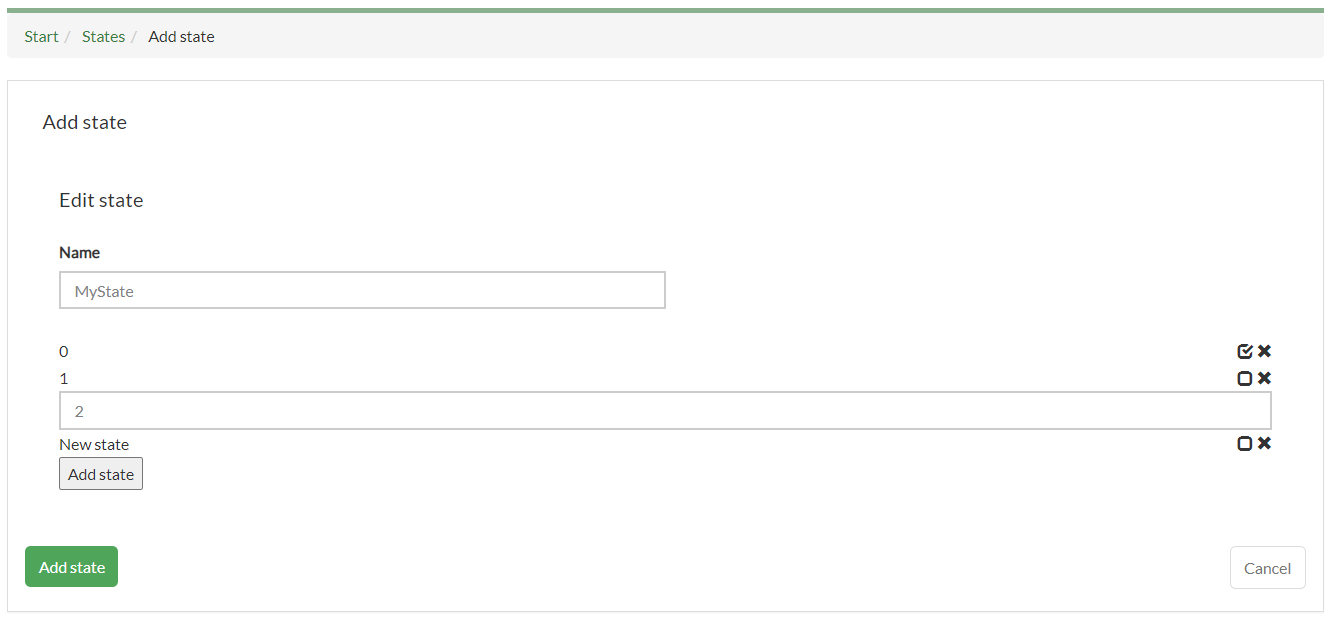
- Press the “Add State button
- Add the states
- Press the “Add state button in the bottom left
Additional information
- States are used to construct advanced rule chains that include state management. Often, the state is referenced in the AND IF part of a rule.
- States are IoT nodes, meaning they will appear in the Device list and can be viewed and managed like any other IoT node.
- The value of a state is stored as a string with the field name value. Since the value of a state is a string, it should be checked in a condition enclosed in single quotes, like value=='stateValue1'.
- The value of a state is modified by the State action, which are placed in the DO part of a rule.
- It is recommended to use simple states such as 1, 2, 3, etc. There are predefined actions and conditions to manage the most commonly used state values.
Create a Contact
- Click on the ”Contacts” icon in the Rule Engine
- Press the “Add Contact” button
- Enter name, e-mail and phone number
- Press the “Add contact” button in the bottom left